DIY: Simple Cardigan Vest
This DIY is super simple. I saw a co-worker wearing something very similar one day and asked if I could see it. It literally was a scarf with a couple of finished holes. That’s it! I was rocking this little number practically the very next day. All the instructions are below. If you happen to make this, please share on social media and tag me (@thesittingbird). I’d love to see your versions.
MATERIALS
In addition to a sewing machine and matching thread, you will also need…
Fabric (2 yards): You can use a woven or a knit, heavy or light weight, it’s really up to you and the look you are going for. A large shawl can also be used
Tape Measure / Ruler
Fabric Marker
Scissors: Both fabric and paper if you plan to make an armhole template (you can also freehand)
Bias binding: Single or double fold will work
Pins

Measurements

Fabric Dimensions (A x B): 45” x 60” If it’s a little longer or shorter, it’s OK
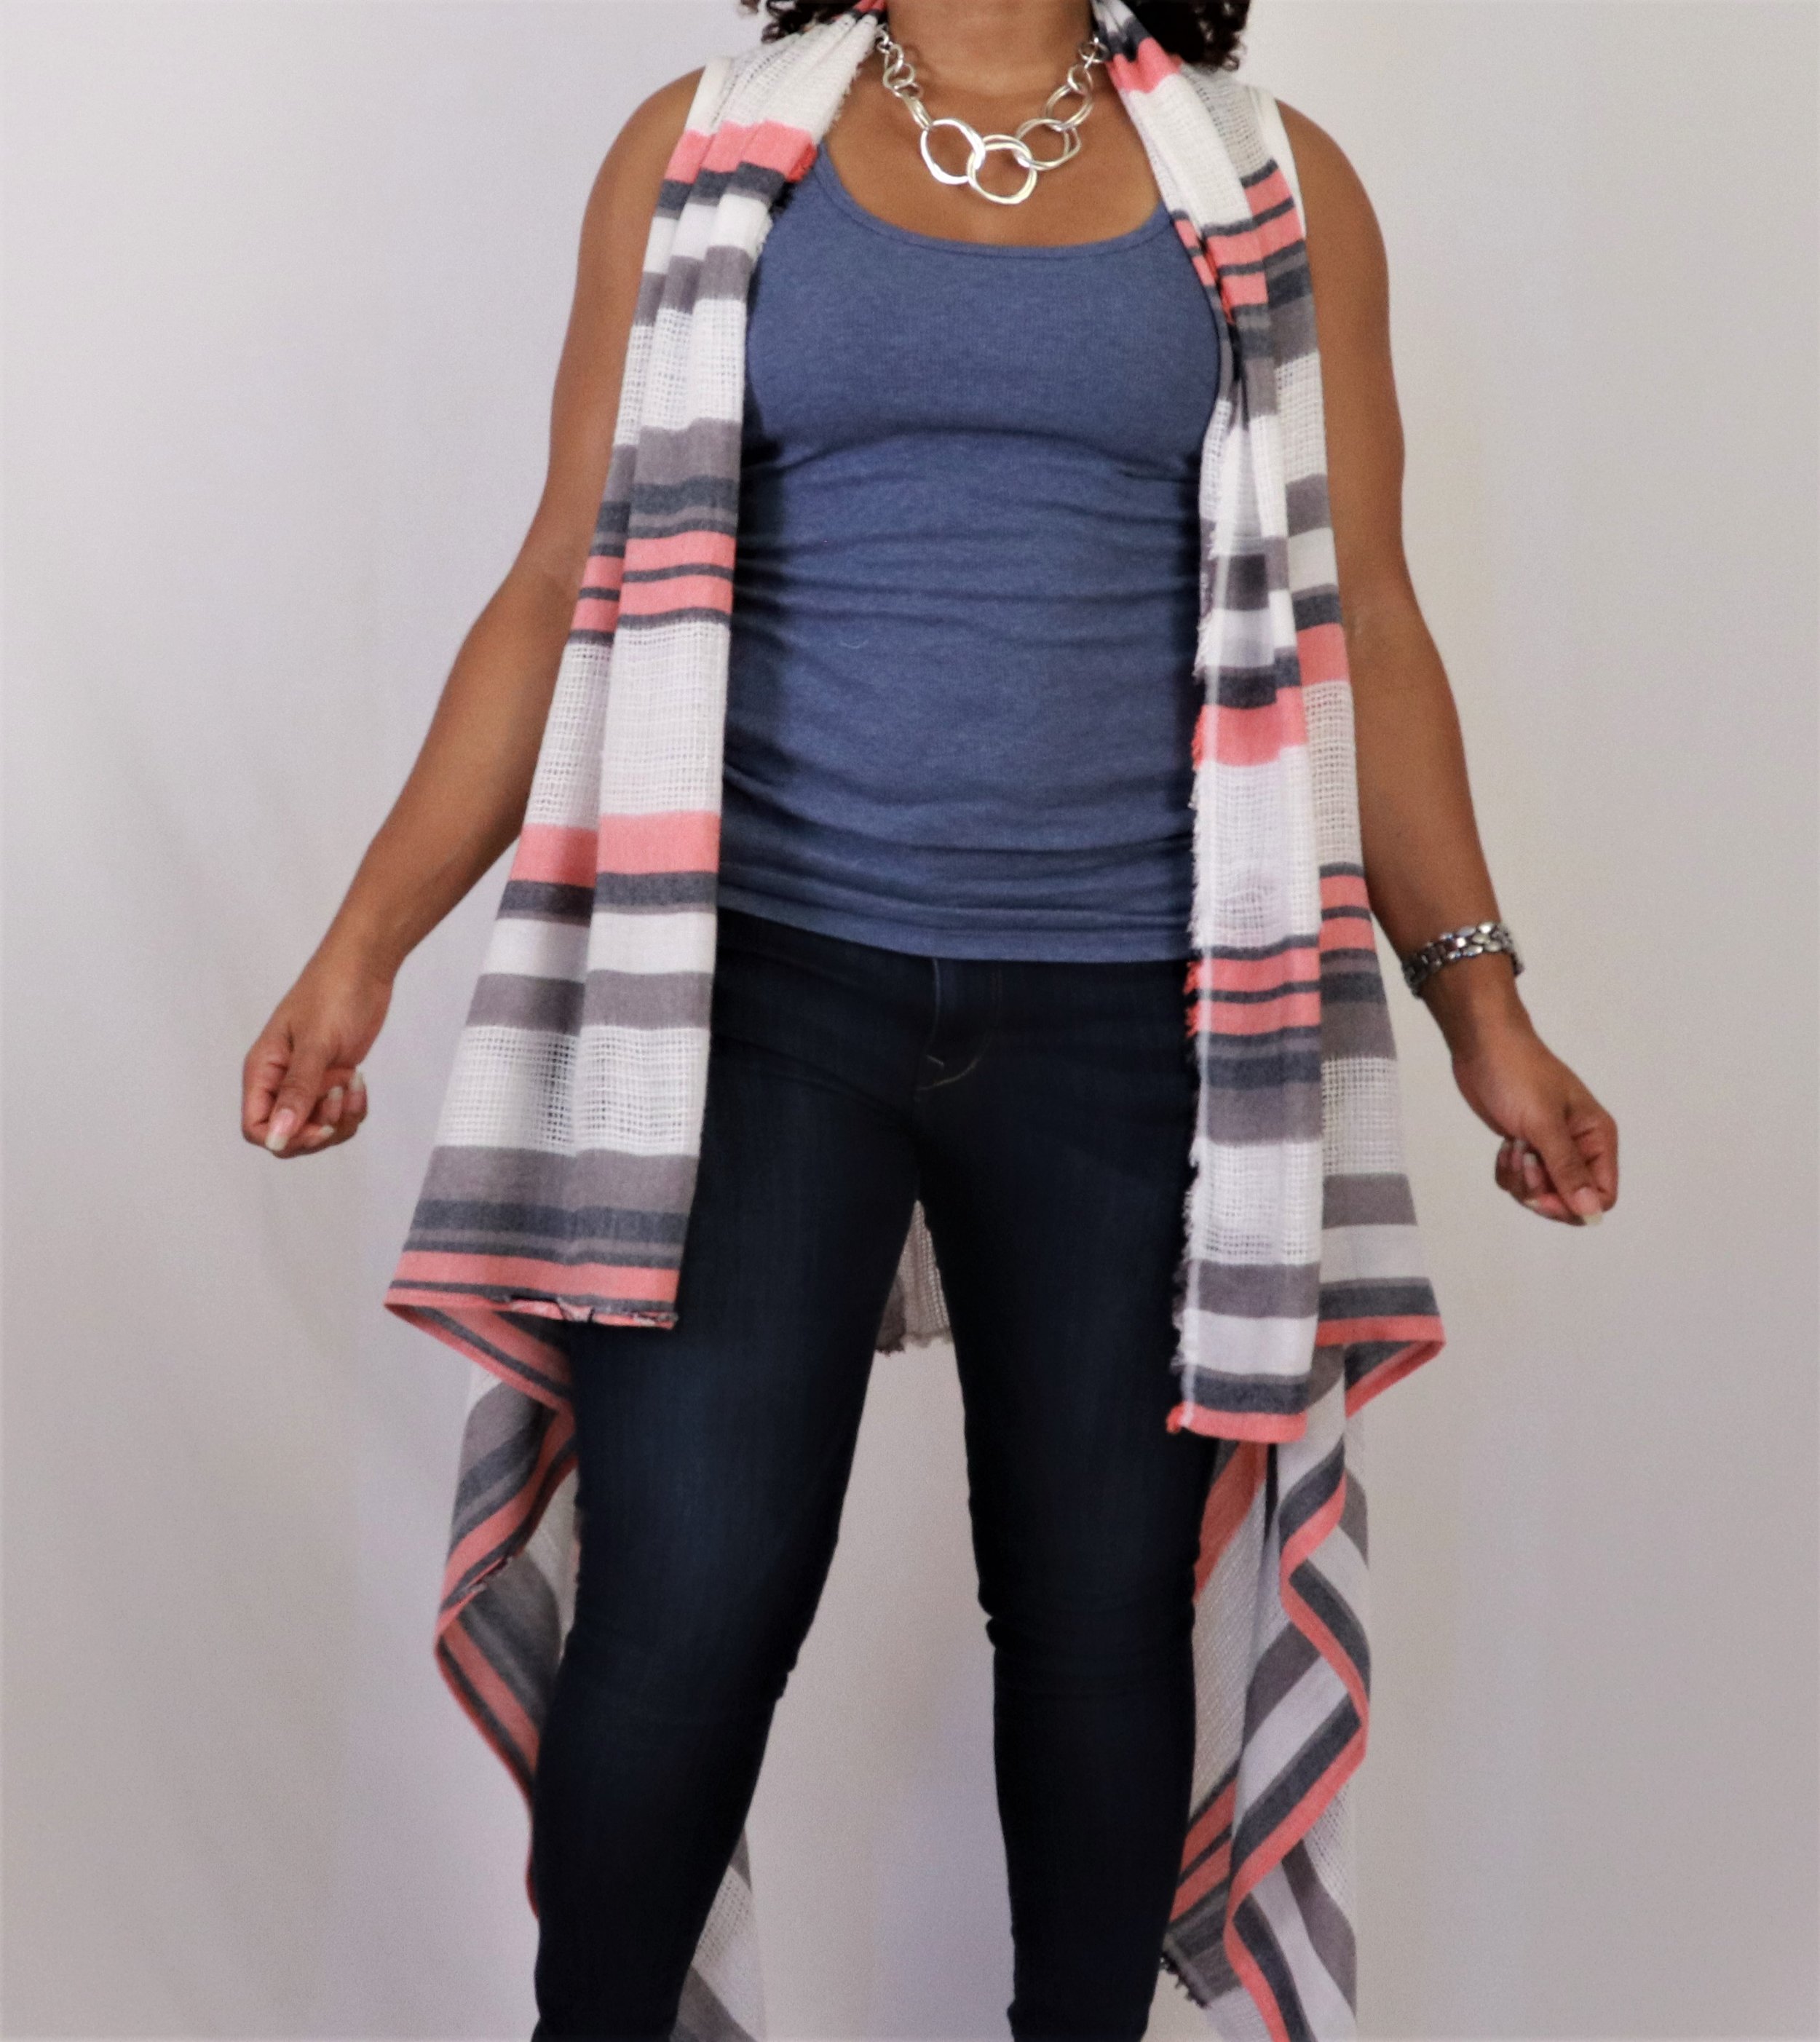
Collar (C): This depends on how much fabric you want draping in front. In the pic this is 11”, but see Tips for more info
Shoulder Width (D): Distance between your shoulders measured across the back of the neck. I made mine about 17”
Armhole Circumference (E): This depends on the size of your arm. Use an existing loose fitting shirt or jacket you own as reference. For me 23-24” works well and I usually wear a medium
Steps
Find the center back by folding the fabric in half, (along line C) bringing the short edges to meet.
Measure down from the edge of the fabric your collar measurement (C) and mark this on the fold (where C meets D)
Measure perpendicular to the fold from collar mark out 1/2 your shoulder measurement (D) and mark this point (where D meets E). This is where the top of your armhole will start
Draw or trace your armhole (E) and then cut both layers out at the same time. (See Tip #3)
Use the bias binding to finish the armhole. Here are some references on how to sew both single and double fold bias binding.
Hem the edges using a narrow hem by folding over 1/4” twice and stitching close to the edge. (See Tip #4)
TIPS
Before you begin, create an armhole template using the piece of paper and your measuring tape. This way you have it to use again and as reference if you want to make adjustments in future projects.
Determine your own collar measurement by draping long edge of the fabric over your shoulders (like a blanket) until you have the amount of fabric in front that you like. Find where the bone protrudes at the base of the back of your neck and place a pin. This is where line C meets line D. Measure from the pin to the closest edge of the fabric. This becomes your new collar measurement (C).
Depending on fabric stability, the armhole may stretch after cutting out. Consider stay stitching prior to cutting to help prevent this. You can also cut a smaller arm hole to offset any expansion.
Reduce hemming by using an old or thrifted shawl or pashmina. When using fabric consider keeping the selvage as is (I liked the fringe effect in mine) or using a fabric that won’t fray.
